Setup #
Bibloteket #
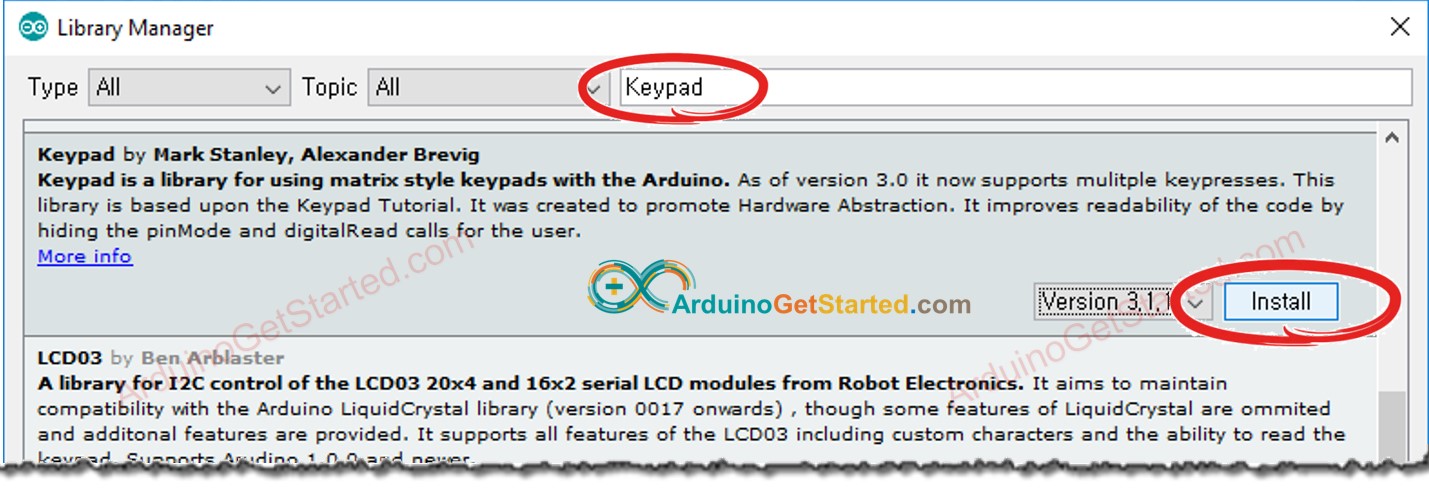
Installer biblioteket fra Arduino IDE:
Kode eksempler: #
#include <Keypad.h>
const int ROW_NUM = 4; //four rows
const int COLUMN_NUM = 4; //four columns
char keys[ROW_NUM][COLUMN_NUM] = {
{'1','2','3', 'A'},
{'4','5','6', 'B'},
{'7','8','9', 'C'},
{'*','0','#', 'D'}
};
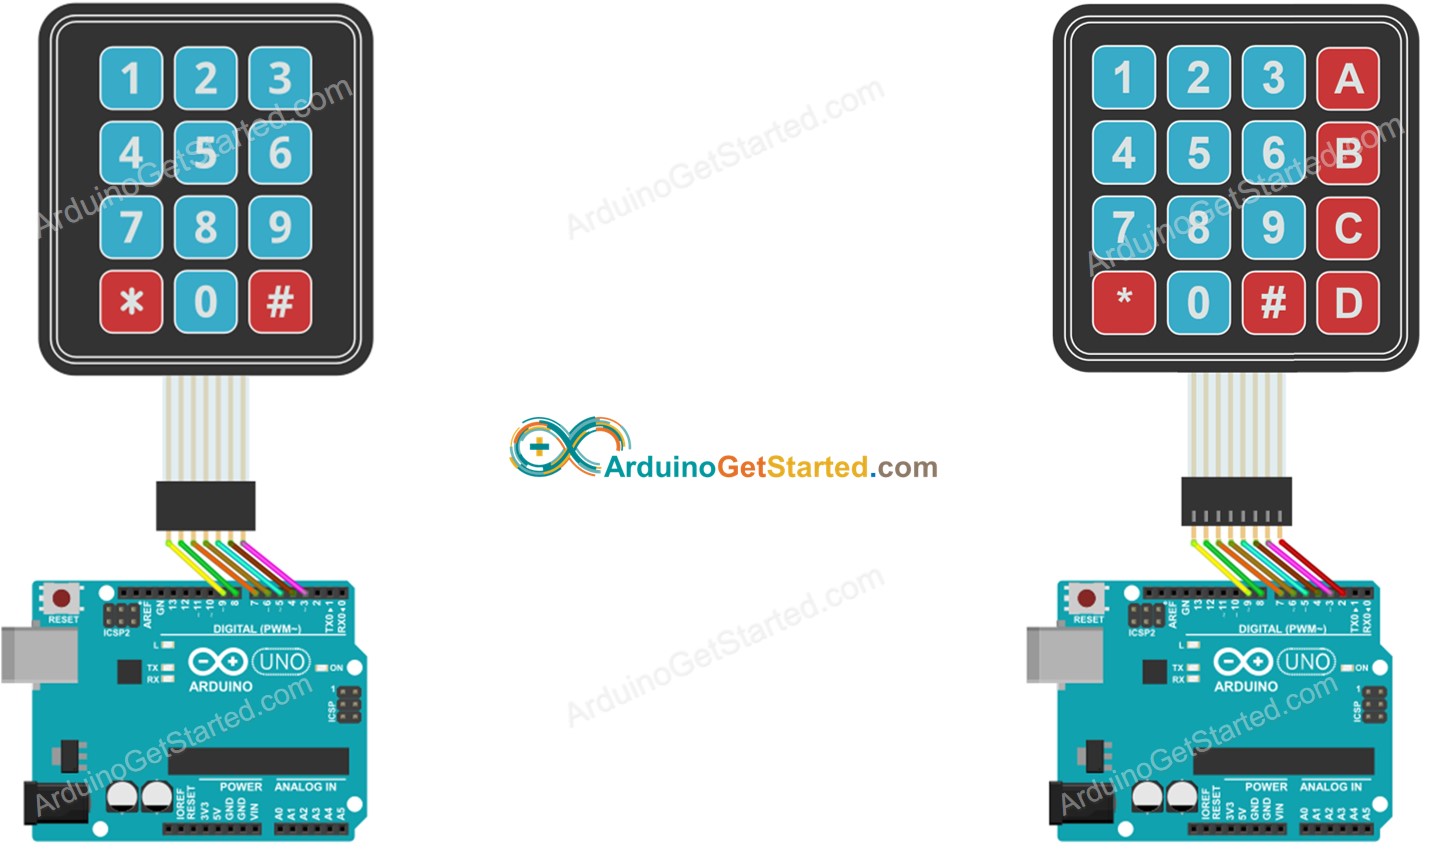
byte pin_rows[ROW_NUM] = {9, 8, 7, 6}; //connect to the row pinouts of the keypad
byte pin_column[COLUMN_NUM] = {5, 4, 3, 2}; //connect to the column pinouts of the keypad
Keypad keypad = Keypad( makeKeymap(keys), pin_rows, pin_column, ROW_NUM, COLUMN_NUM );
void setup(){
Serial.begin(9600);
}
void loop(){
char key = keypad.getKey();
if (key){
Serial.println(key);
}
}
Keypad kommandoer #
Det her er kommandoer som Keypad tager:
keys[ROW_NUM][COLUMN_NUM] = {'1','2','3', 'A'};- Definerer en array med 4 rækker og 4 kolonner.pin_column[COLUMN_NUM] = {5, 4, 3, 2};- Pins for kolonnerne.pin_rows[ROW_NUM] = {9, 8, 7, 6};- Pins for rækkerne.Keypad keypad = Keypad( makeKeymap(keys), pin_rows, pin_column, ROW_NUM, COLUMN_NUM );- Initialiserer Keypad med 4 rækker og 4 kolonner.char key = keypad.getKey();- Returnerer den næste tast som er trykket på.