Setup #
Bibloteket #
Installer biblioteket fra Arduino IDE:

Kode eksempler: #
#include <Wire.h> // Library for I2C communication
#include <LiquidCrystal_I2C.h> // Library for LCD
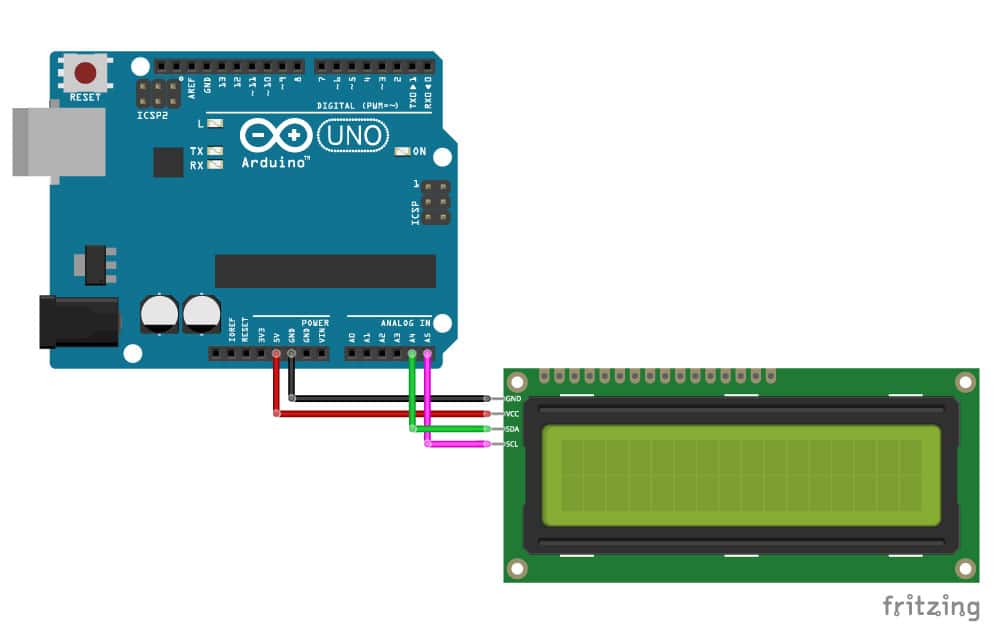
// Wiring: SDA pin is connected to A4 and SCL pin to A5.
// Connect to LCD via I2C, default address 0x27 (A0-A2 not jumpered)
LiquidCrystal_I2C lcd = LiquidCrystal_I2C(0x27, 16, 2); // Change to (0x27,20,4) for 20x4 LCD.
void setup() {
// Initiate the LCD:
lcd.init();
lcd.backlight();
}
void loop() {
lcd.setCursor(2, 0); // Set the cursor on the third column and first row.
lcd.print("Hello World!"); // Print the string "Hello World!"
lcd.setCursor(2, 1); //Set the cursor on the third column and the second row (counting starts at 0!).
lcd.print("LCD tutorial");
}
Kommandoer: #
Det her er kommandoer som LCD tager:
LiquidCrystal_I2C lcd = LiquidCrystal_I2C(0x27, 16, 2);- Initialiserer LCD med 16 coloner og 2 rækker.lcd.begin(16, 2);- Initialiser LCD med 16 kolonner og 2 rader.lcd.clear();- Slet alt indholdet af LCD’en.lcd.setCursor(0, 0);- Sæt cursoret på 1. kolonne og 1. rad.lcd.print("Hello World!");- Print “Hello World!” på LCD’en.lcd.setCursor(0, 1);- Sæt cursoren på 1. kolonne og 2. rad.